June 10, 2026
The True Cost of Cutting Corners in Home Renovation

DESIGN


Key Takeaways
A successful renovation does not happen by accident. It comes from clear communication, thoughtful planning, realistic expectations, and a team that knows how to move a project from an idea to a finished space.
For many homeowners, the renovation process can feel overwhelming at first. You may know that your kitchen, bathroom, basement, laundry room, or living space needs improvement, but you may not know where to start. You may also be wondering how decisions are made, when materials are selected, how pricing works, and what happens once construction begins.
That is exactly why a clear design-build process matters.
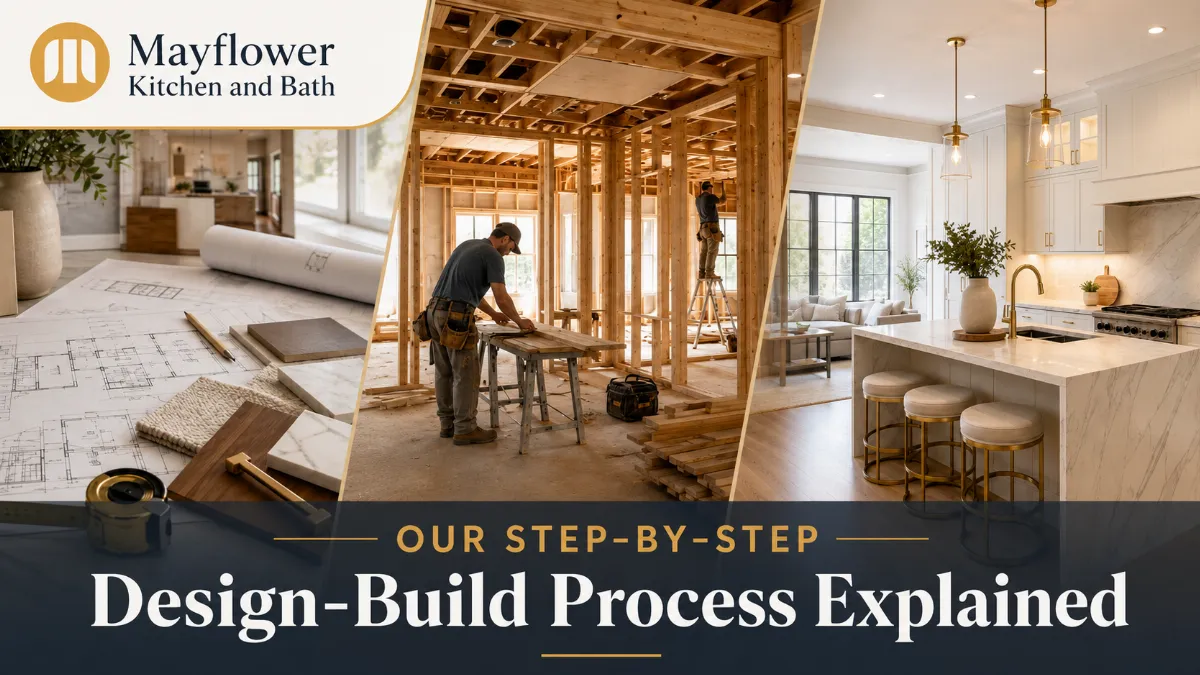
At Mayflower Construction, our goal is to make the renovation experience smoother, more organized, and easier to understand from the very beginning. Instead of separating design, planning, selections, and construction into disconnected steps, our design-build approach brings everything together under one coordinated process.
Here is what you can expect when you work with us, from the first conversation to the final walkthrough.
A design-build process means the design and construction sides of your renovation are handled in a more connected way. Instead of working with separate companies for planning, design, estimating, and building, you work with one team that helps guide the project from start to finish.
This creates better communication, fewer surprises, and a clearer path forward. The team understands your goals, budget, design preferences, and construction needs early in the process, which helps reduce confusion later.
For homeowners, this can make the renovation feel much more manageable.
Every project starts with a conversation. This is where we learn about your goals, your home, your timeline, and what you are hoping to change.
You may be looking to update an outdated bathroom, redesign a kitchen, create a more functional laundry room, finish a basement, or transform multiple areas of your home. During this first step, we want to understand what is working, what is not working, and what kind of result you are hoping for.
This is also the time to talk about your general budget expectations, design ideas, and any concerns you may have. The more we understand upfront, the better we can guide the next steps.
Once we know the general idea, the next step is clarifying the scope of work. This means identifying what areas of the home will be renovated and what level of work may be needed.
For example, a bathroom renovation may include a new shower, vanity, tile, fixtures, lighting, ventilation, and flooring. A kitchen renovation may involve cabinets, countertops, backsplash, appliances, electrical updates, plumbing changes, and layout improvements.
At this stage, we begin separating wants from needs. Some items may be essential for function or safety, while others may be design upgrades. This helps create a clearer project direction before detailed planning begins.
A renovation plan needs to be based on real conditions inside the home. During the site visit, we look at the existing space, take measurements, review access points, and identify any details that may affect the project.
This can include ceiling height, wall locations, plumbing lines, electrical needs, ventilation, flooring transitions, windows, doors, and structural considerations. We also look for possible challenges that should be addressed early.
This step is important because every home is different. A design that looks good on paper still needs to work with the actual space.
After we understand the space, we begin developing the design direction. This is where your ideas start becoming a clear, buildable plan.
We discuss layout options, style preferences, material goals, storage needs, lighting, finishes, and overall function. The goal is not just to make the space look beautiful, but to make it work better for your daily life.
Good design should solve problems. It should improve flow, make better use of space, and create a finished result that feels natural in your home.
This step also helps prevent rushed decisions during construction. When key design choices are made ahead of time, the project can move forward with more confidence.
Material selections are one of the most important parts of the renovation process. Cabinets, countertops, flooring, tile, plumbing fixtures, lighting, hardware, paint colors, and other finishes all shape the final look and feel of the project.
We guide homeowners through these choices so they can make informed decisions. The goal is to balance style, durability, maintenance, and budget.
Choosing materials early helps avoid delays later. If selections are postponed until construction is already underway, it can create pressure, backorders, or scheduling issues. A smoother renovation starts with organized decisions before work begins.
Once the scope, design direction, and material expectations are clearer, we can review the project budget in more detail.
A good proposal should explain what is included, what assumptions are being made, and what areas may affect the final cost. This gives homeowners a better understanding of where the investment is going.
Renovation pricing should not feel like a mystery. While unexpected conditions can sometimes come up during construction, a clear proposal helps reduce uncertainty and keeps everyone aligned.
Before construction begins, the plan needs to be finalized. This includes confirming the scope of work, reviewing selections, approving details, and making sure the schedule is understood.
This step is where preparation matters most. When the design, materials, budget, and timeline are properly organized, the construction phase becomes much easier to manage.
A strong plan gives the project team a clear roadmap. It also gives the homeowner peace of mind knowing what to expect.
Once the project is ready to move forward, we prepare for scheduling. This may include ordering materials, coordinating trades, planning site protection, and making sure the home is ready for construction.
Depending on the project, there may also be permit requirements, inspections, or special approvals that need to be handled before work begins.
During this stage, communication is key. Homeowners should know when work is expected to begin, what areas of the home will be affected, and how the project may impact daily routines.
When construction starts, the renovation begins to take shape. This may include demolition, framing, plumbing, electrical, HVAC adjustments, drywall, waterproofing, tile, cabinetry, flooring, painting, trim, and finish installation.
A good renovation team does more than complete tasks. They also protect the home, communicate progress, manage details, and solve issues as they come up.
Construction can be disruptive, but it should not feel chaotic. With the right planning and communication, the process can stay organized and manageable.
Transparency does not stop once construction begins. Throughout the project, homeowners should be kept informed about progress, upcoming steps, and any decisions that need to be made.
Clear communication helps avoid confusion and keeps the project moving. It also gives homeowners confidence that the team is paying attention to both the big picture and the small details.
If an unexpected issue comes up, it should be explained clearly. The homeowner should understand the options, the reason behind the recommendation, and how it may affect the project.
As the renovation gets closer to completion, the focus shifts to finishing details. These details may include hardware, trim, touch-ups, fixtures, caulking, paint, adjustments, cleaning, and final installation items.
This stage is important because details affect how the finished space feels. Even a well-planned renovation can feel incomplete if the finishing work is rushed.
Taking the time to address the final details helps create a polished result that homeowners can truly enjoy.
The final walkthrough gives the homeowner and project team a chance to review the completed work together. This is where we look over the finished space, discuss any final notes, and make sure the project has been completed according to the agreed scope.
A good walkthrough should feel clear and organized. It gives homeowners the opportunity to ask questions, understand how to care for new materials, and confirm that the space is ready to use.
This final step helps close the project with confidence.
A renovation is a major investment in your home. Without a clear process, it can quickly become stressful. Homeowners may feel unsure about pricing, overwhelmed by selections, frustrated by delays, or confused about what happens next.
A step-by-step design-build process helps prevent that.
It creates structure. It improves communication. It allows design decisions to happen at the right time. It helps the construction team build more efficiently. Most importantly, it gives homeowners a smoother experience from beginning to end.
The best renovation experience comes from preparation, communication, and trust. When you work with a team that takes time to understand your goals, explain the process, and guide each step, the project becomes much easier to manage.
Whether you are planning a bathroom remodel, kitchen renovation, laundry room update, basement project, or a larger home transformation, the process matters just as much as the final result.
A beautiful renovation starts long before construction begins. It starts with a clear plan.
Our design-build process is designed to make renovation feel more transparent, organized, and manageable. From the first conversation to the final walkthrough, each step plays an important role in creating a finished space that looks beautiful, functions well, and fits your home.
If you are ready for a smoother renovation experience, reach out to Mayflower Construction. We will walk you through the process, answer your questions, and help you take the next step with confidence.
Ready for a smoother renovation experience? Reach out and we’ll walk you through it.
